Hardware Assembly
Qwiic Assembly
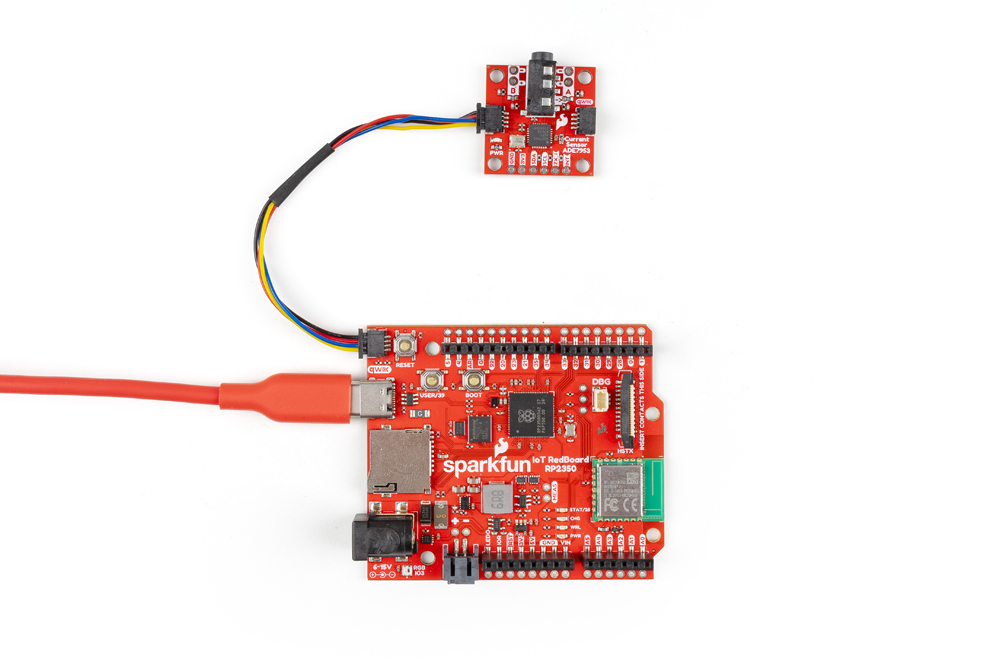
Start by connecting the Non-Invasive Current Sensor - ADE7953 (Qwiic) to a Qwiic compatible dev board (a RedBoard IoT - RP2350 is used in the photo below). After connecting it to the RedBoard, plug the RedBoard into a computer over USB-C.
[ ]
]
Current Transformer/Current Clamp Assembly
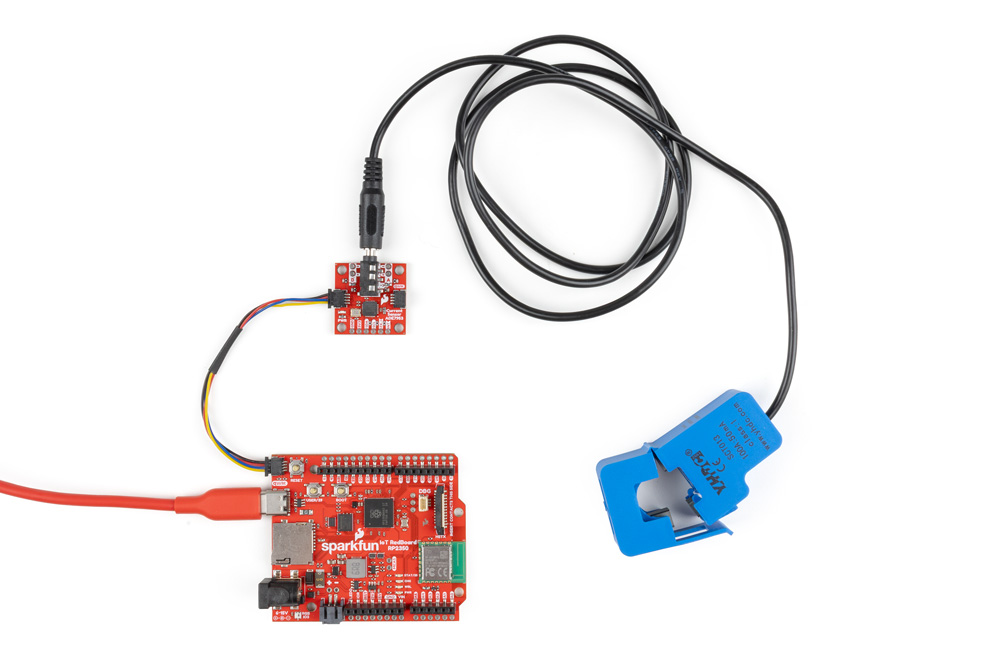
Now plug the current transformer into the Non-Invasive Current Sensor's 3.5mm TRRS jack. We recommend leaving the clamp open and disconnected from an AC load prior to performing calibration using the SparkFun ADE7953 Arduino Library to reduce the noise from the clamp.
[ ]
]
Channel A and Channel B Direct Connection
The Non-Invasive Current Sensor board is designed to work with a current transformer with a CT ratio of 2000:1 connected to the 3.5mm TRRS jack. The through-hole connections to Channel A and B do not have any extra current transformation ratio integrated and operate at a 1:1 ratio. As a result, AC loads connected to these pins should not exceed 100mA. Connecting to Channel B requires soldering to the through-hole pins.